
Epiphany; looking at a sketchbook belonging to Joanna Quinn and realising that every mark made on the paper was actually quite beautiful.
 |
| Joanna Quinn mark making. |
Problem; how to get a room full of students to have that moment. Everyone hears the principles of character design; silhouettes, shape hierarchy, variance, reinforcement, negative space, forceful shapes (Mike Mattesi), etc. But the power of a good mark over a bad one can make a drawing powerful and lift it above the weaker ones; even if they are all using these principles.
The point of the following exercise was to give them marks; ink blots scanned into Photoshop, and have them create characters from them. That way they CANNOT draw flat, boring lines of regular thickness and NO energy. Dynamic marks are built into the workshop. Interesting marks >> interesting character.
Get this; when making several sheets of ink marks I found that I got much better results if I worked with my eyes shut and thought about the brush pressure.
Most of my workshops are designed to channel students towards creating characters that they would never consider creating, using shapes forms and marks that they have never used before.
Getting a creative out of their comfort zone is a major part of this job and success at that usually leads to a much stronger ideas. With an understanding of dynamic shapes and forms students will create much more visually dynamic characters.


Supremely satisfying moment with the mouse character above. One student wanted to bail out at the start and go home to draw the characters using a Cintiq. HaHaHa...no chance!
His resulting characters came as a massive (positive) surprise to him. I love moments like that!


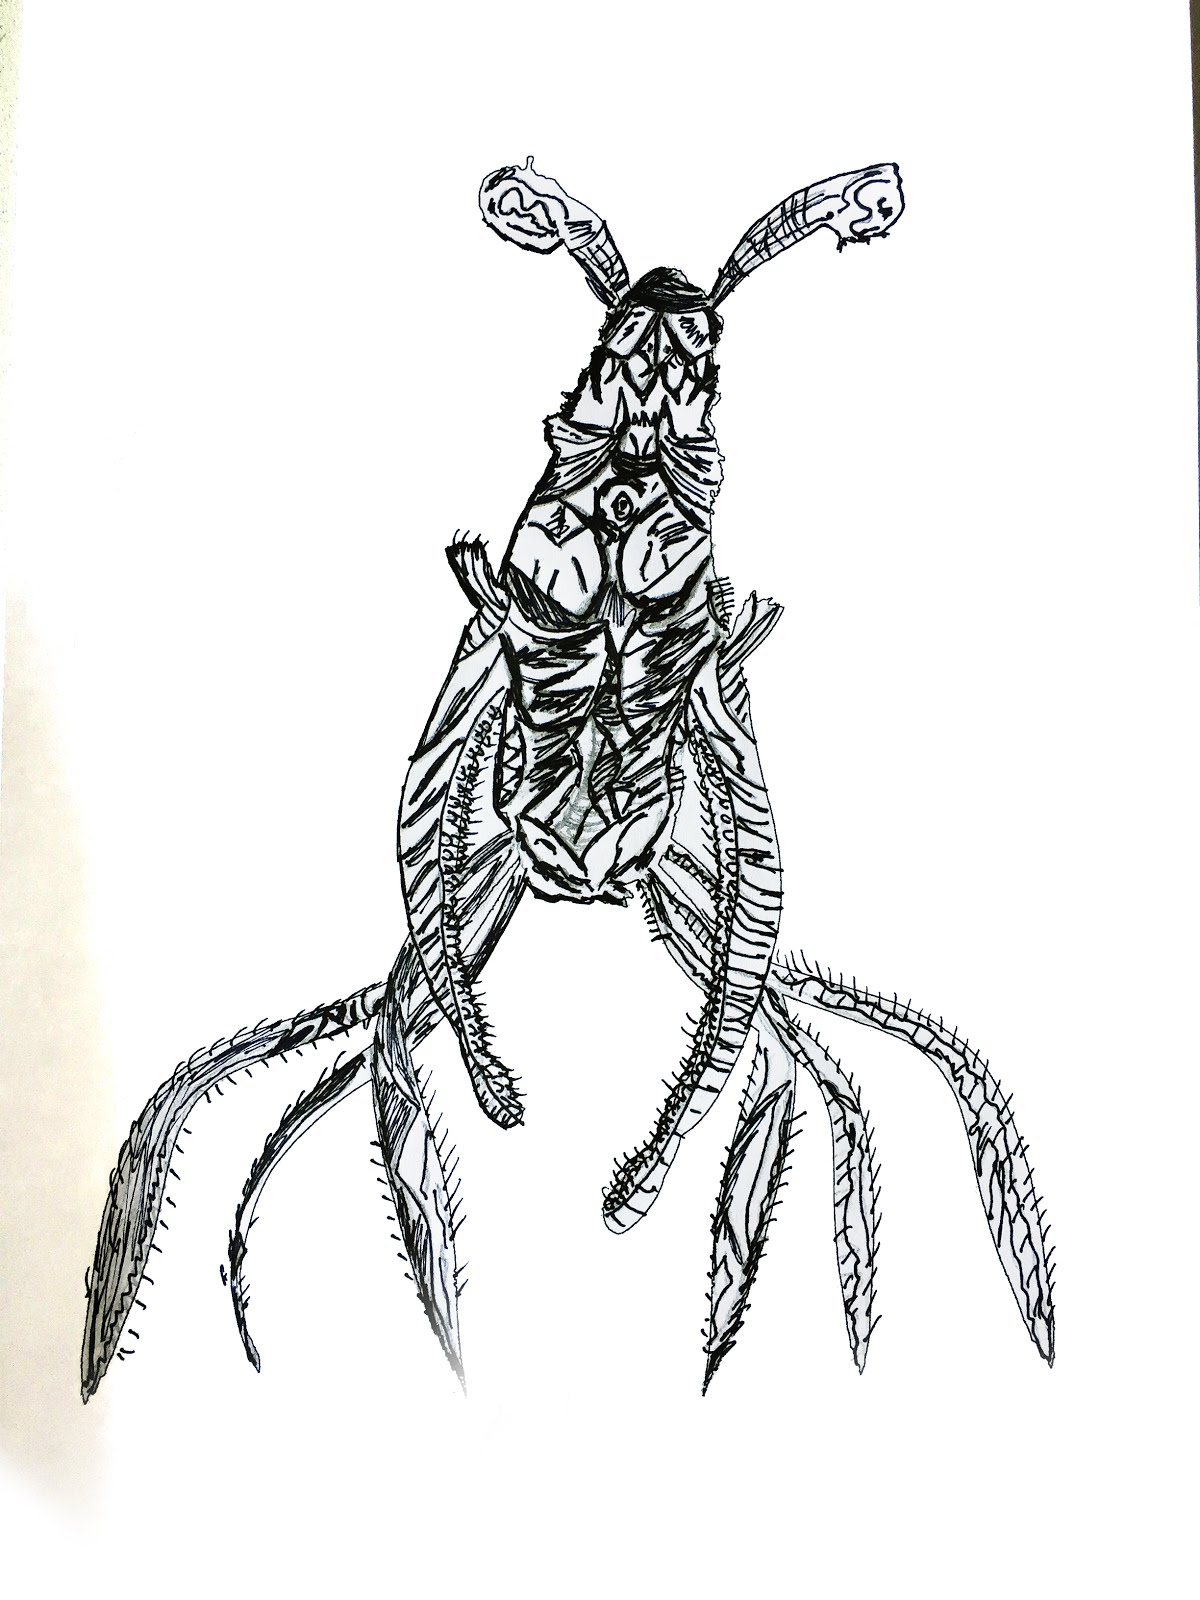
 |
| My own example to kick of the workshop. |
It is important to remember as well that these workshops are for mixed classes of traditional animation, digital animation, stop motion and CGI games students. Some of the have a real resistance to 'arty' techniques so combining ink blots and Photoshop this way is a very effective technique to break down any walls of resistance.
The following weeks workshop allowed the class to detail each others designs using the principles of volumetric curves to create form.


Next up; animation for these silhouettes as well...


